

Slide Canvas
The slide canvas is the central vehicle for building and displaying content in the Story Board designer. The canvas is designed to act as a "whiteboard" upon which users can draw their various story board designs with simple point-and-click AND drag-and-drop tools. A collection of slides is compiled into a singular dashboard and then deployed to end users who are going to consume the dashboard in the Story Board runtime.
The slide canvas exposes a variety of features and functions that allow users to build up their dashboards:
- The Toolbox - on canvas buttons for manipulating content presentation settings.
- Slide Background Settings - the slide's formatting and theme settings.
- Layout Designer- tools for how the slide should be sub-divided into the various parts to house content and assets.
- Panels - visualization bounding boxes for query content.
- Interaction Designer - tools for creating "interactive" functions between queries and content in a slide.
- Global Slicers and Variables - tools for creating interconnections between slides within a dashboard deck.
- Dynamic Images and Infographics are data driven graphic assets that can depict information for users without the usual reporting components like grids and charts.
Creating a Slide
Recommended steps:
- Create a New Slide from the home ribbon tab. Make sure the slide is selected in the slide tree.
- Either click the "Slide Heading" button on the slide tab or right click on the slide in the slide tree and give the slide a title.
- Click on the slide ribbon tab, and select one of the dissection tools to sub-divide your slide canvas. Continue to sub-divide your canvas as needed until your slide layout structure reflects your desired outcome.
- If you plan to incorporate logo, image or button assets, consider turning on header, footer or left and right gutters on the slide before continuing.
- Using the content tree, drag and drop reporting content into each of the canvas sub divisions. If content looks squashed or cluttered move the layout handles around to achieve the right balance. Remember, in runtime mode, all the menu's and designer panels are not present.
- For each content item, use the toolbox to fine-tune the content for the slide (see below for more on the toolbox).
- On the home or slide ribbon use the"show panels" button to create better visual separation between content exhibits. Panels also provide a convenient method for viewing query "breadcrumbs".
- Add assets from the asset tree to the various parts of the slide canvas.
- Next, return to the slide ribbon and select a format theme for your slide.
- Lastly, go to the interaction ribbon tab and use the interaction tools to DRAW in the inter-query interactivity between content panes.
- You can also add global slicers or variables for inter-connectivity between slides from the home ribbon for cross-slide data connectivity.
Slide Toolbox
In the Story Board designer, each content item is bounded by a "toolbox" rectangle. In the top left hand corner is the toolbox button (blue arrow below). The toolbox function can be turned on and off from the layout ribbon by clicking on the Show Toolbox toggle button (red arrow).
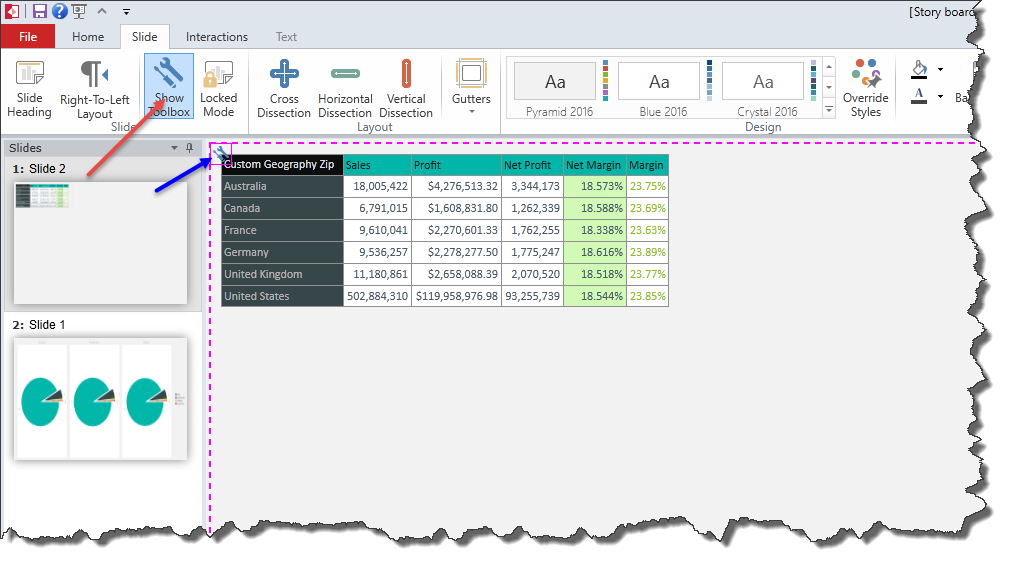
The toolbox button exposes a variety of functions and controls depending on its content type.
For all content, left clicking on the toolbox icon and then dragging the mouse provides a method for moving content from one pane on the canvas to another. When content is being moved, a big yellow arrow appears indicating where content will be moved to.
NOTE: Content cannot be moved to a pane that already has content.
Right clicking on the toolbox button exposes a context menu. The menu changes depending on the type of content it contains.
For all content items users can do the following from the toolbox:
- "Remove Content" from the slide canvas
- Change a panel's caption. This change will only be seen if slide panels are visible. By default slide panel captions are copied from the title of the course Data Discovery report caption.
- "Remove Interactions" for this particular content pane from the canvas definition
Slide Layout
The layout options on the slide canvas are extremely flexible and offer dashboard designers an almost infinite number of panel combinations to suit all requirements. Using the layout dissection tools on the slide ribbon tab, users can dissect the canvas into numerous panels as needed.
Once a dissection has been added, users can click on the handles and move the lines to change the relative size of the panels. All content is resized based on the panel size.
Right clicking on the handle provides the mechanism to delete a dissection from the canvas.
NOTE: When removing a dissection, any content contained WITHIN the dissection's panes (and those of any child dissections within the parent pane) will be deleted from the canvas. To avoid losing work, users should consider moving content to blank panes first.
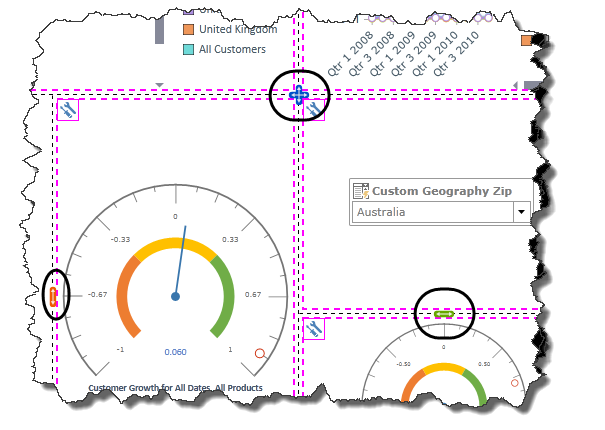
Users can apply a dissection to an existing pane if it already contains content. In this event, the content will be pushed into the top or left sub-pane positions. Users can then move content around by left clicking on the toolbox button and dragging it to their preferred pane - as long as it doesn't already contain other content (as per image below).

Slicer and Variable Layouts
Slicers and Variables can be laid out using two approaches: auto-arranged or fixed placement. By default, panels housing slicers are set to "auto-arrange" which simply place the slicer or variable in the most appropriate fashion. However, users can utilize the more powerful "fixed" placement option to hand-place and hand-size each slicer with the panel or more granular control over the way a slide will appear in runtime. See slicer layouts for more information on using the fixed placement options.
Home |
Table of Contents |
Index |
User Community
Pyramid Analytics © 2011-2022